- Power BI Tutorial
- Power BI - Home
- Power BI - Introduction
- Power BI - Installation Steps
- Power BI - Architecture
- Power BI - Supported Data Sources
- Comparison with Other BI Tools
- Power BI - Data Modeling
- Power BI - Dashboard Options
- Power BI - Visualization Options
- Power BI - Excel Integration
- Sharing Power BI Dashboards
- Power BI - DAX Basics in Power BI
- Power BI - Administration Role
- Power BI Useful Resources
- Power BI - Quick Guide
- Power BI - Useful Resources
- Power BI - Discussion
- Selected Reading
- UPSC IAS Exams Notes
- Developer's Best Practices
- Questions and Answers
- Effective Resume Writing
- HR Interview Questions
- Computer Glossary
- Who is Who
Power BI - Installation Steps
To check the system requirements, installation files detail, users have to navigate to “Advanced download options”. Following are the system requirements to download Power BI tool −
Supported Operating Systems
Windows 10, Windows 7, Windows 8, Windows 8.1, Windows Server 2008 R2, Windows Server 2012, Windows Server 2012 R2
Microsoft Power BI Desktop requires Internet Explorer 9 or higher
Microsoft Power BI Desktop is available for 32-bit (x86) and 64-bit (x64) platforms
Users can select a language in which they want to install Power BI and following files are available for download.
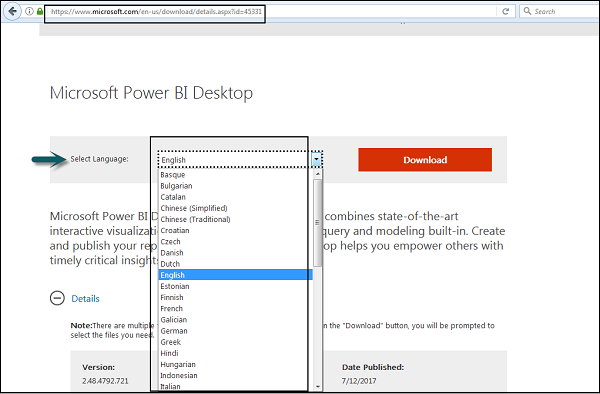
This is the link to directly download Power BI files −
https://www.microsoft.com/en-us/download/details.aspx?id=45331

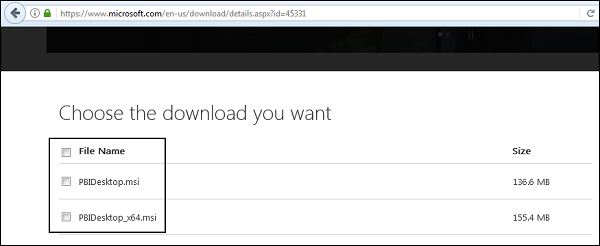
PBIDesktop_x64.msi shows a 64-bit OS file. Select the file you want to install as per OS type and click Next. Save the installation file on the local drive.
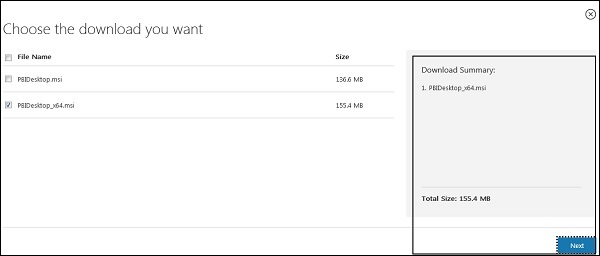
When you run the installation file, following screen is displayed.
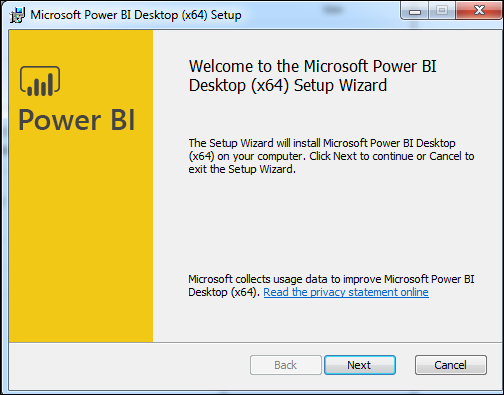
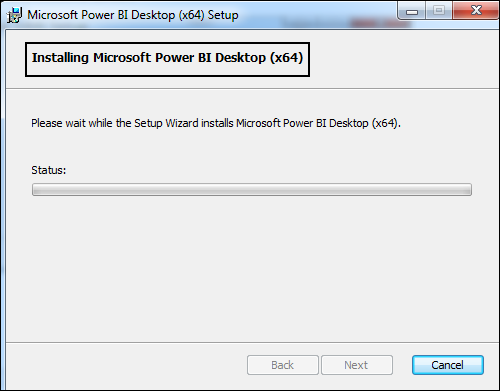
Accept the license agreement and follow the instructions on the screen to finish the installation.
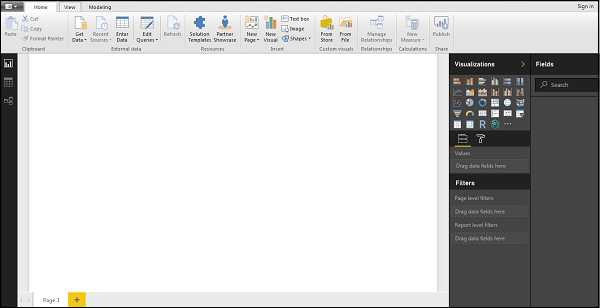
When Power BI is installed, it launches a welcome screen. This screen is used to launch different options related to get data, enrich the existing data models, create reports as well as publish and share reports.
