- TensorFlow Tutorial
- TensorFlow - Home
- TensorFlow - Introduction
- TensorFlow - Installation
- Understanding Artificial Intelligence
- Mathematical Foundations
- Machine Learning & Deep Learning
- TensorFlow - Basics
- Convolutional Neural Networks
- Recurrent Neural Networks
- TensorBoard Visualization
- TensorFlow - Word Embedding
- Single Layer Perceptron
- TensorFlow - Linear Regression
- TFLearn and its installation
- CNN and RNN Difference
- TensorFlow - Keras
- TensorFlow - Distributed Computing
- TensorFlow - Exporting
- Multi-Layer Perceptron Learning
- Hidden Layers of Perceptron
- TensorFlow - Optimizers
- TensorFlow - XOR Implementation
- Gradient Descent Optimization
- TensorFlow - Forming Graphs
- Image Recognition using TensorFlow
- Recommendations for Neural Network Training
- TensorFlow Useful Resources
- TensorFlow - Quick Guide
- TensorFlow - Useful Resources
- TensorFlow - Discussion
- Selected Reading
- UPSC IAS Exams Notes
- Developer's Best Practices
- Questions and Answers
- Effective Resume Writing
- HR Interview Questions
- Computer Glossary
- Who is Who
TensorFlow - Installation
To install TensorFlow, it is important to have “Python” installed in your system. Python version 3.4+ is considered the best to start with TensorFlow installation.
Consider the following steps to install TensorFlow in Windows operating system.
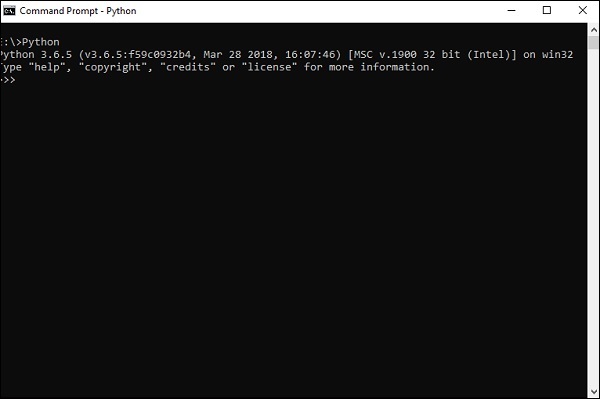
Step 1 − Verify the python version being installed.
Step 2 − A user can pick up any mechanism to install TensorFlow in the system. We recommend “pip” and “Anaconda”. Pip is a command used for executing and installing modules in Python.
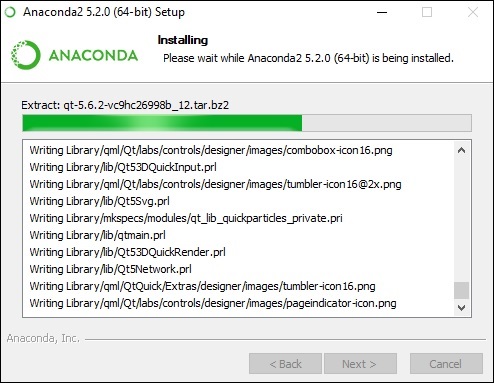
Before we install TensorFlow, we need to install Anaconda framework in our system.
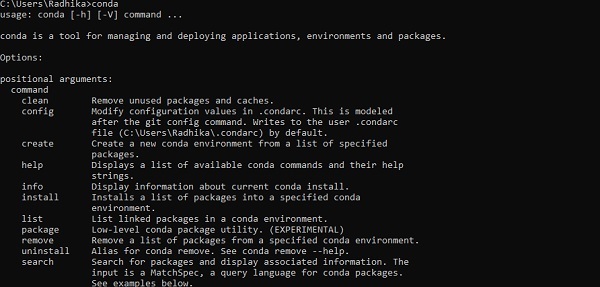
After successful installation, check in command prompt through “conda” command. The execution of command is displayed below −
Step 3 − Execute the following command to initialize the installation of TensorFlow −
conda create --name tensorflow python = 3.5
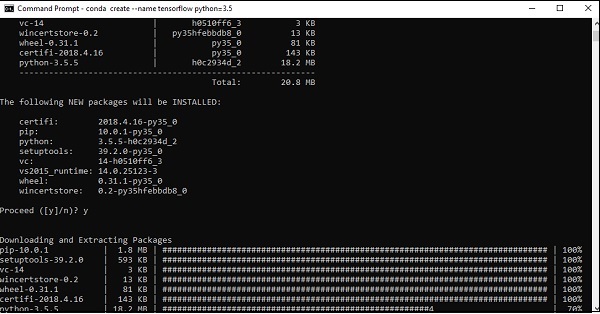
It downloads the necessary packages needed for TensorFlow setup.
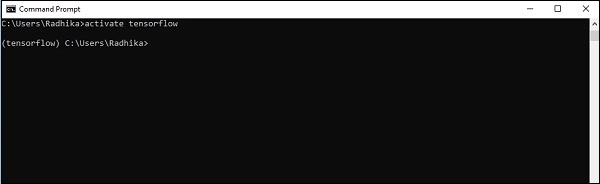
Step 4 − After successful environmental setup, it is important to activate TensorFlow module.
activate tensorflow
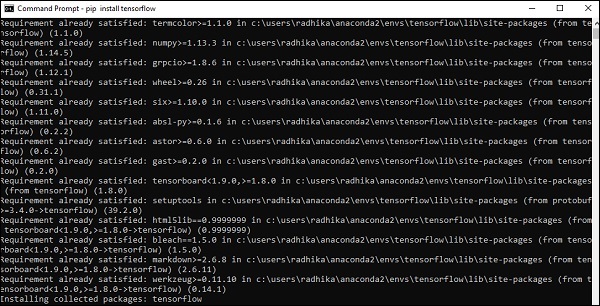
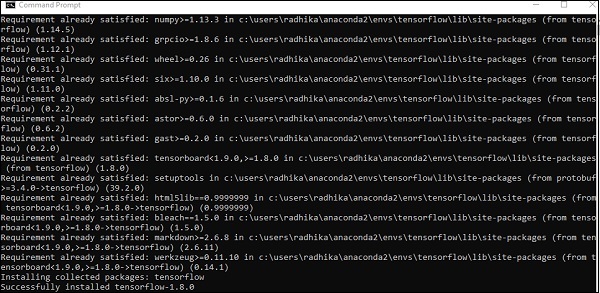
Step 5 − Use pip to install “Tensorflow” in the system. The command used for installation is mentioned as below −
pip install tensorflow
And,
pip install tensorflow-gpu
After successful installation, it is important to know the sample program execution of TensorFlow.
Following example helps us understand the basic program creation “Hello World” in TensorFlow.
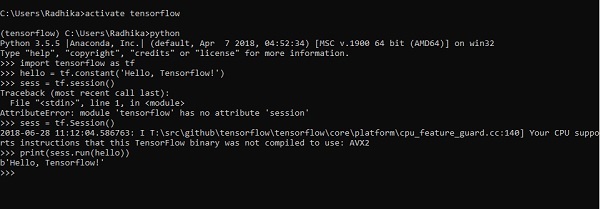
The code for first program implementation is mentioned below −
>> activate tensorflow
>> python (activating python shell)
>> import tensorflow as tf
>> hello = tf.constant(‘Hello, Tensorflow!’)
>> sess = tf.Session()
>> print(sess.run(hello))